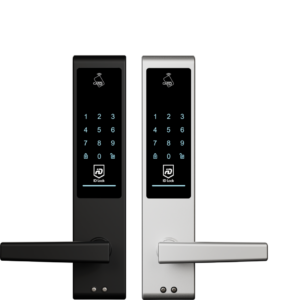
Congrats with your
ID Lock 202 Multi
ID Lock 202 Multi
[NO] [SE]
Setup and
Installation
You’ll find the quick guide here.
You’ll find the manual here.
Here you’ll find videos on Youtube.
Now that your lock is properly installed, there are a few steps remaining before it’s ready for use. Also, read about necessary maintenance at the bottom.
- Insert batteries
- Update
- Touch panel activation
- Set a PIN code
- Test your PIN code
- Test the emergency battery
- Add a key fob
- Test key fob
Batteries
If you haven’t already inserted batteries into your lock, you can do so now. Use only Alkaline 1.5V AA batteries (also known as LR06). Use 4 or 8 batteries.
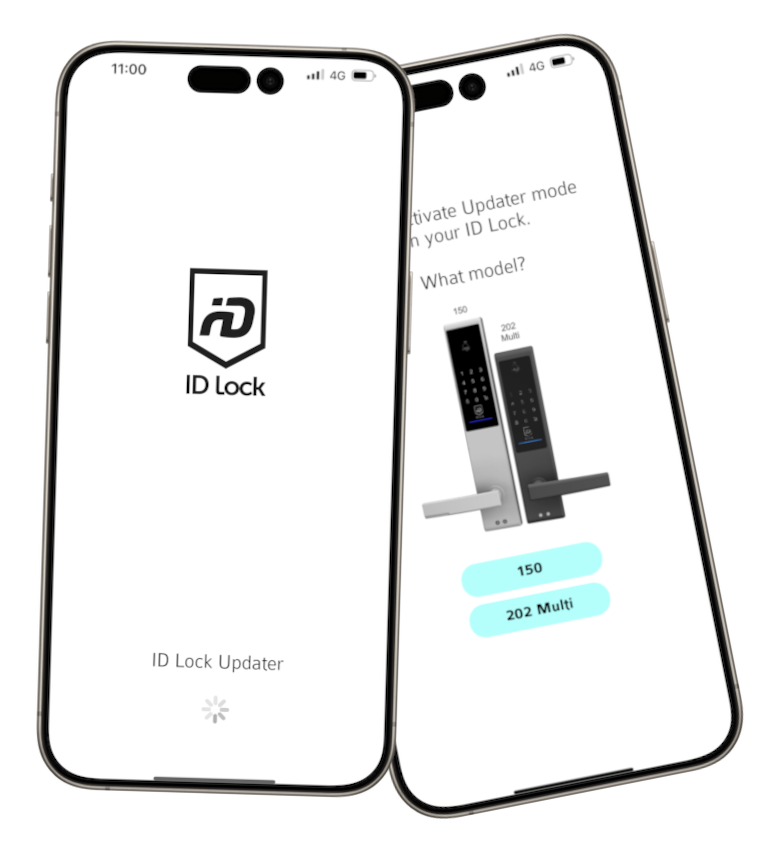
Update
ID Lock 202 Multi must be updated with the Updater app. This will give you new functionality, security updates and bug fixes.
Read more about the app on idlock.no/Updater.
![]()
![]()
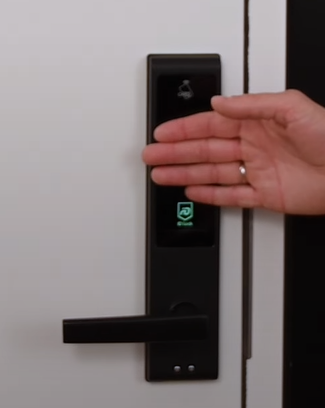
Touch panel activation
The touch panel on the ID Lock is best activated by touching multiple digits, as shown in the picture below. Have a look at our Youtube videos for practical advice, tips and tricks on daily use. Remember to activate the touch panel before PIN input or use of the key fobs. If you choose to turn off automatic locking, touch panel activation will lock your door when it is closed.
Set a PIN Code
ID Lock 202 Multi comes without a predefined PIN code for security reasons! When the lock is factory-set, the very first thing you need to do is set a PIN code. The method below describes how to set the Master PIN. Wait about 20 seconds after the batteries are inserted and follow the steps below.
- Leave the door open and unlocked
- Place your palm on the touch panel
- Enter your desired [ Master PIN ] [ * ]
- Repeat [ Master PIN ] [ # ]
- The lock acknowledges with a melody
Test Your PIN and Auto-lock
Before using the lock, it’s advisable to ensure it’s functioning correctly.
- Leave the door open and unlocked
- Lock with the manual knob
- Activate the panel with your palm
- Enter [ PIN code ] [ # ]
- 202 Multi unlocks
- Enter and close the door
- ID Lock 202 Multi locks itself
If you prefer your lock not to auto-lock, refer to the quick guide or manual for instructions on how to change this.
Test the Emergency Battery
If the ID Lock 202 Multi runs out of power, you can use a regular 9V battery (also known as a «smoke alarm battery») to power the lock from the outside.
- Remove the batteries
- Lock with the manual knob
- Hold the 9V battery against the emergency terminals
- Activate the panel with your palm
- Enter [ PIN code ] [ # ]
- 202 Multi unlocks
Add a Key Fob
Three key fobs are included in the package, at least one must be added to the lock after installation.
- Leave the door open and unlocked
- Hold down the key button
- Enter [ Master PIN ] [ * ]
- Enter [ 5 ] [ * ]
- Enter [ 0 ] [ * ]
- Show the key fob in front of [ CARD ]
- Finish with [ # ]
- The key fob is added to an available slot
By entering 0 in step 5, the lock selects the first available slot for the key fob. You can choose a different slot by replacing 0 with a number from 1 to 25.
Test Your Key Fob
Before using the lock, it’s advisable to ensure the key fob is working correctly.
- Leave the door open and unlocked
- Lock with the manual knob
- Activate the panel with your palm
- Show the key fob in front of [ CARD ]
- 202 Multi unlocks
Necessary Maintenance
The lock’s moving parts should be lubricated as needed and at least once a year. We recommend using a thin-flowing oil like bicycle chain oil or sewing machine oil.
The lock should be cleaned with clean water and a microfiber cloth. To maintain a nice finish, this should be done monthly, or as needed.
For more information, refer to the customer center and feel free to use the videos on Youtube.
NOTE! We recommend that you always have someone on the inside or an alternative entry when setting up and testing the lock.